Simplify the management of your tasks, meetings, and checklists by synchronizing WEDO with Microsoft Teams.
The activation is done in 3 easy steps:
Allow users to link their Microsoft account with WEDO
(admin only)Link your Microsoft account with WEDO (user)
Install the WEDO app in Teams (user)
1. Allow users to link their Microsoft account with WEDO
⚠ Important: This step is for administrators only
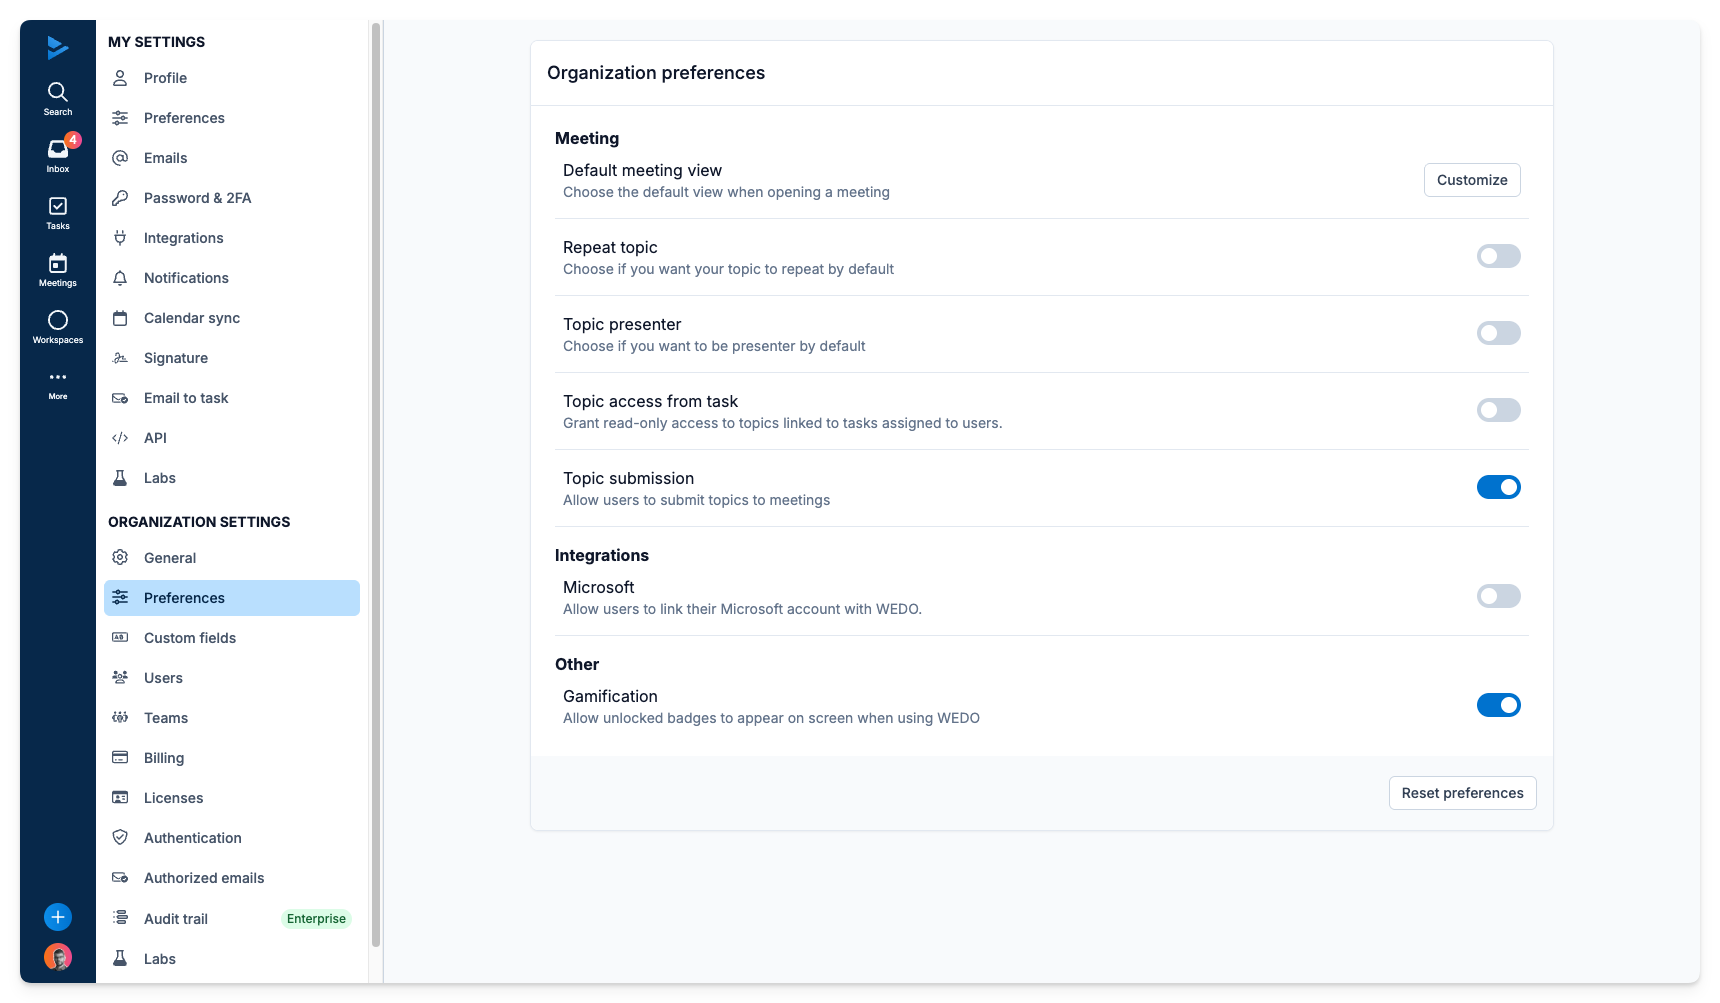
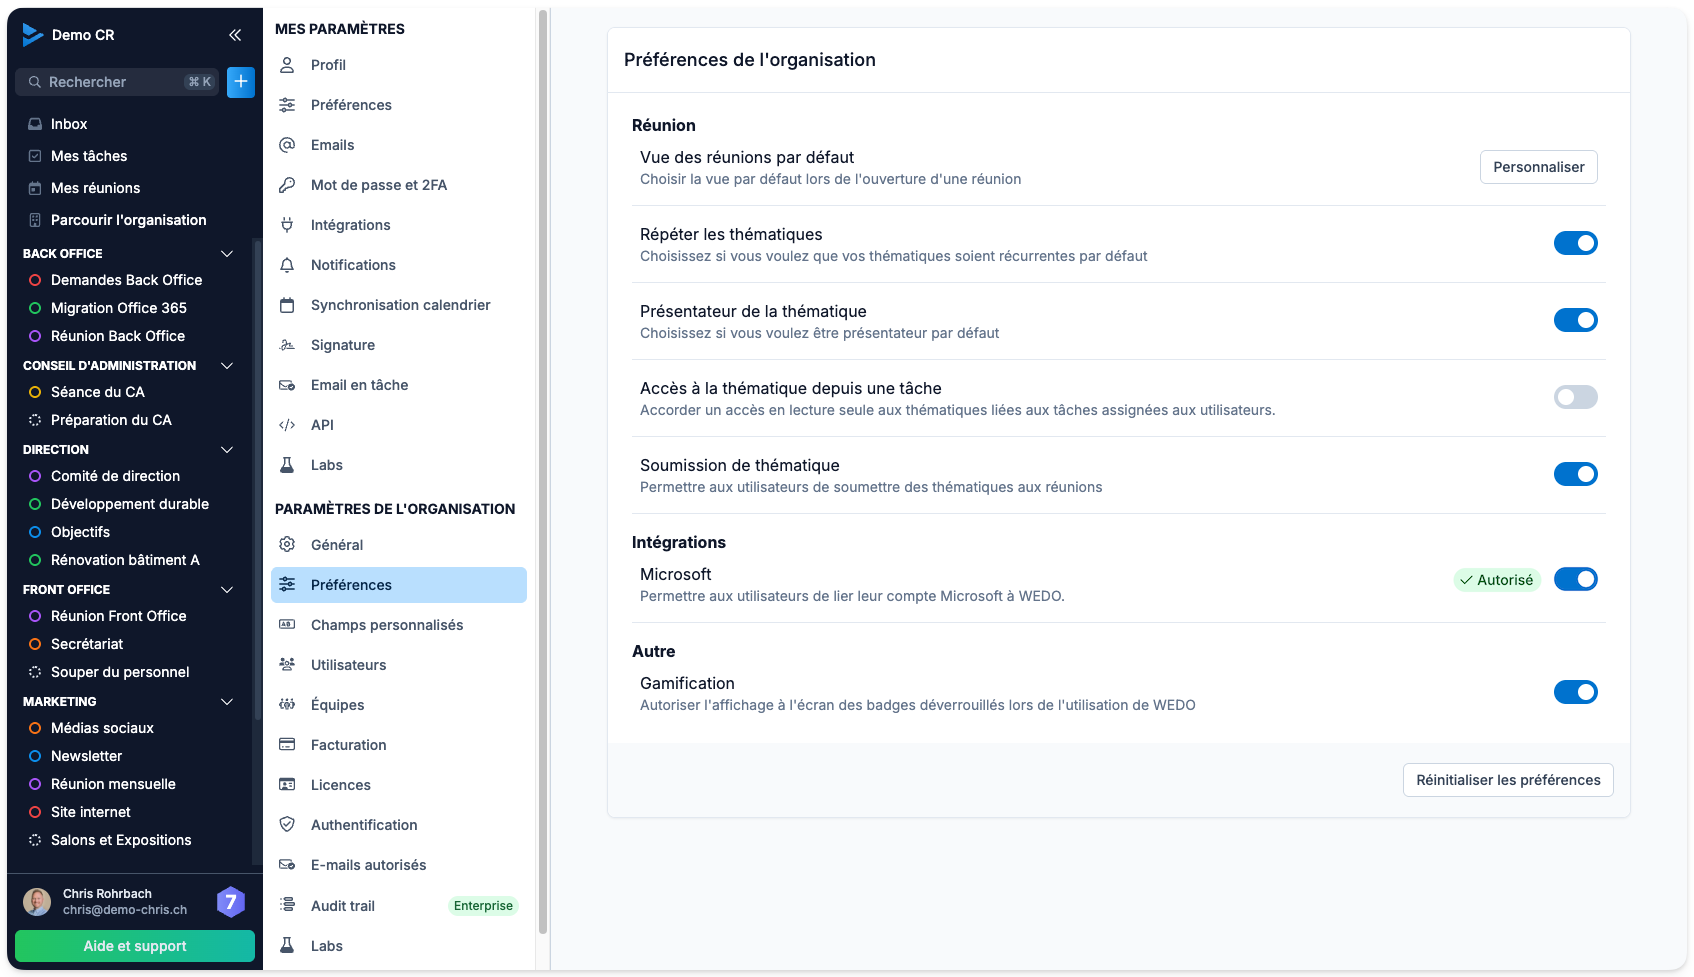
Go to Organization Settings > Preferences
In the Integration section, enable the switch “Allow users to link their Microsoft account with WEDO.”
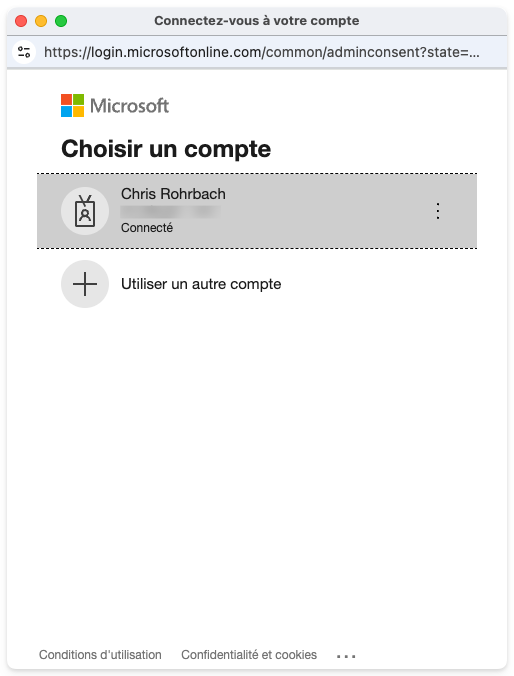
A window will open where you can sign in to your Microsoft account.
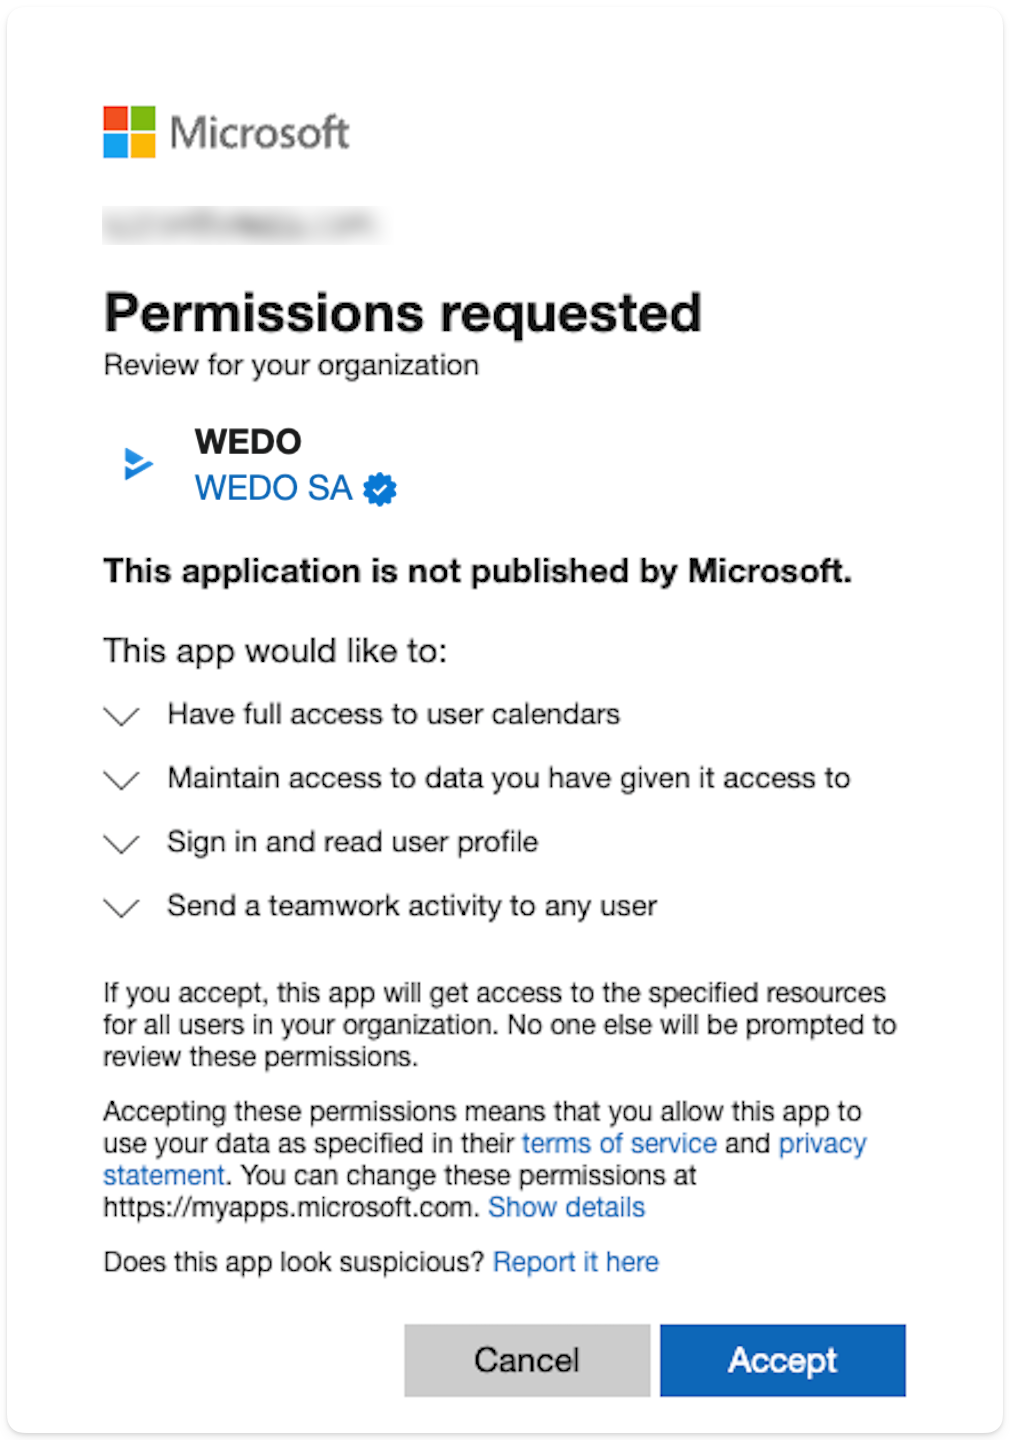
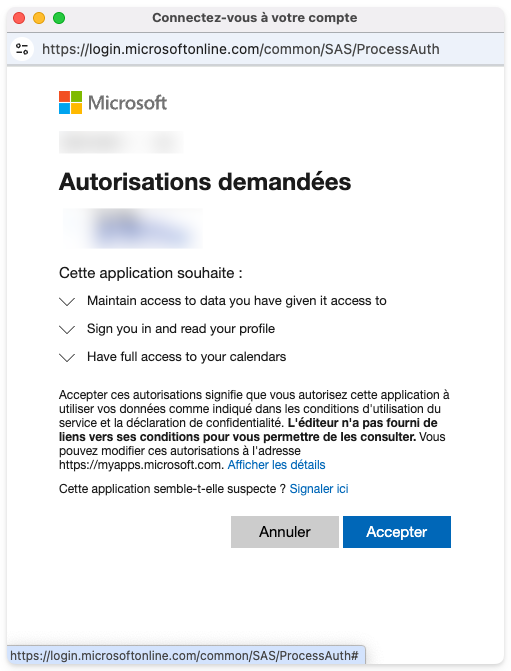
Accept the permission that allows WEDO to access Microsoft Teams.
The activation was successful if the status “Authorized” is displayed.
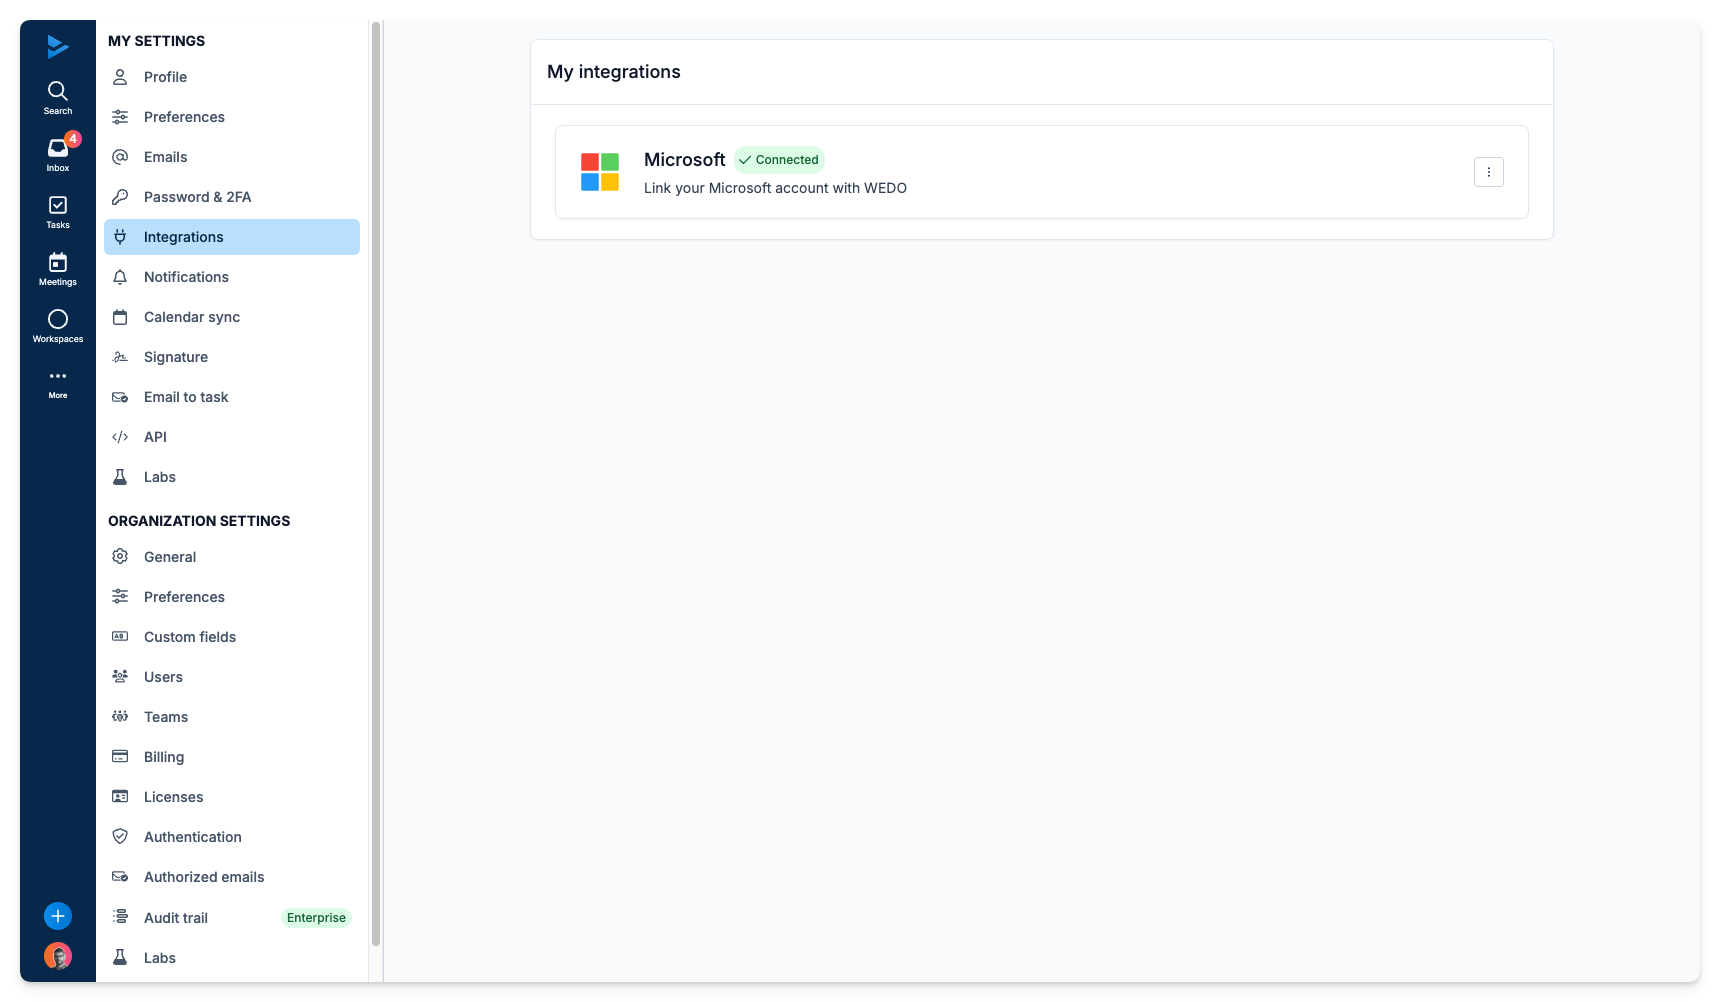
2. Link Microsoft account with WEDO (user)
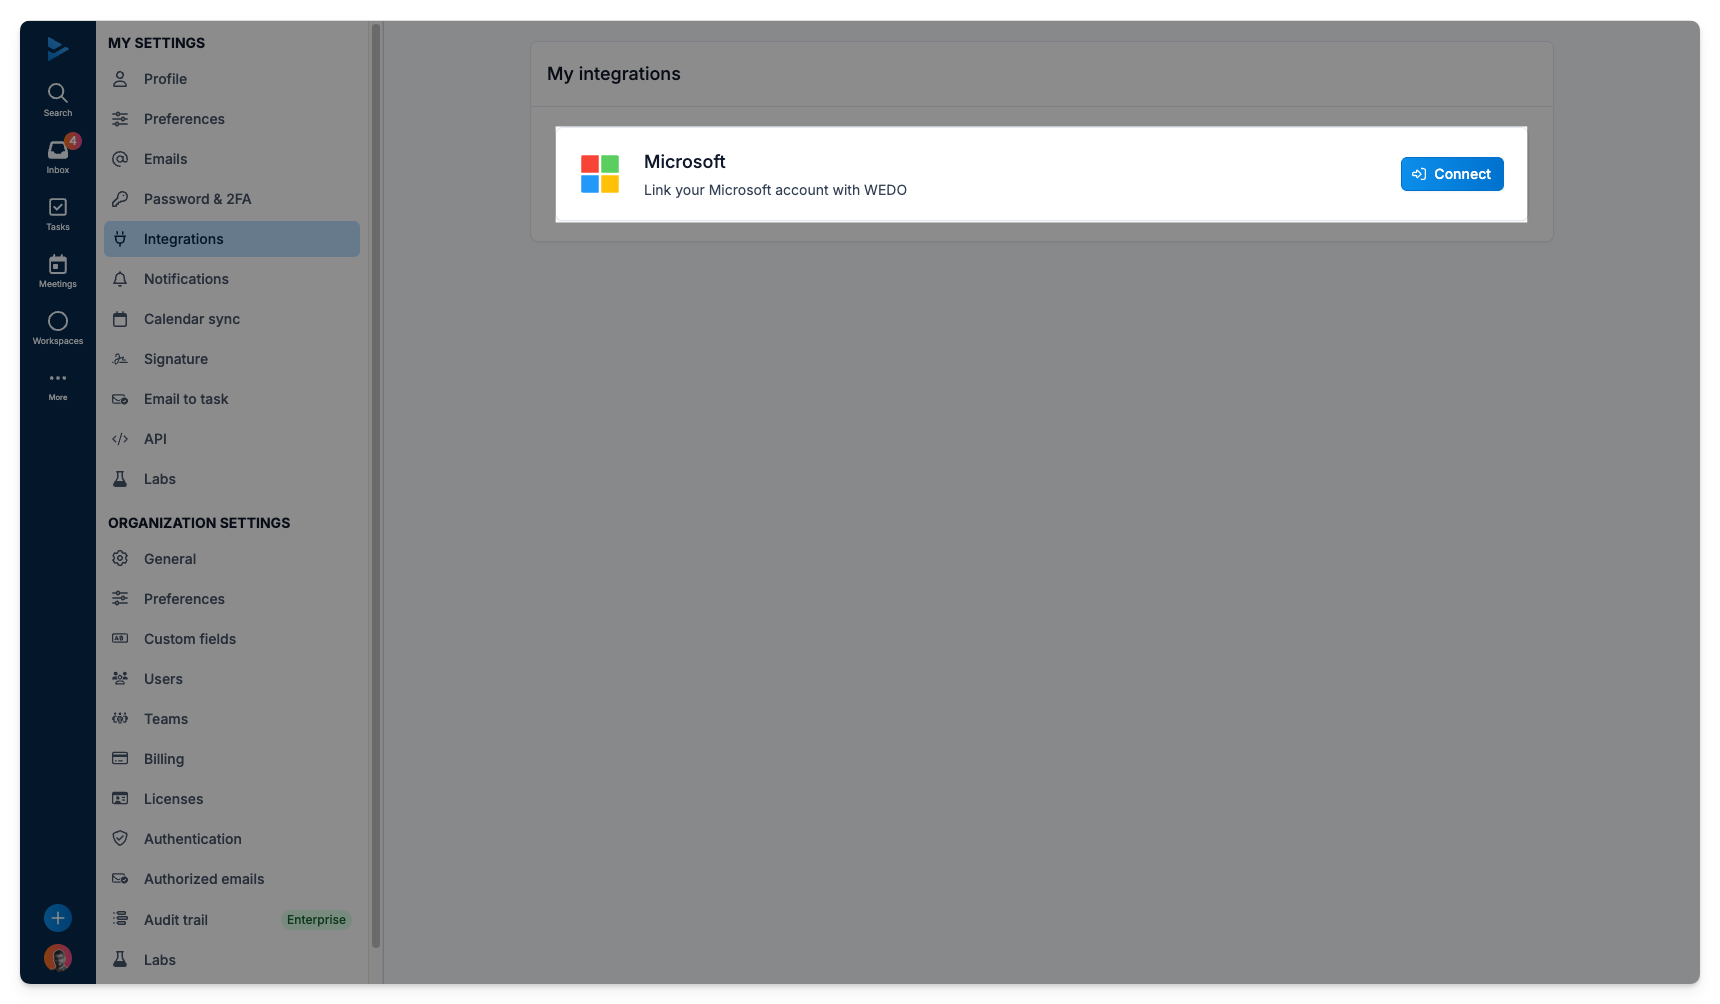
In your settings, open the “My Settings” section, then select “Integrations” and click on “Connect”.
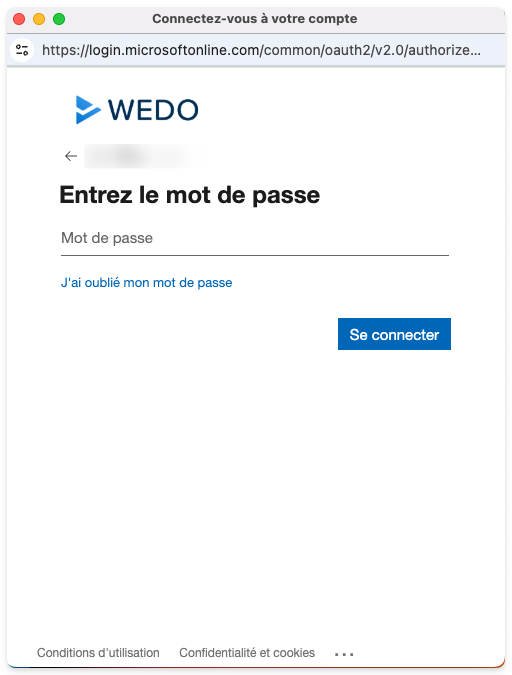
A window will open automatically. Sign in to your Microsoft account or confirm it by entering your email address and password. If two-factor authentication (2FA) is enabled, also enter the requested code.
Accept the requested permissions to complete the connection.
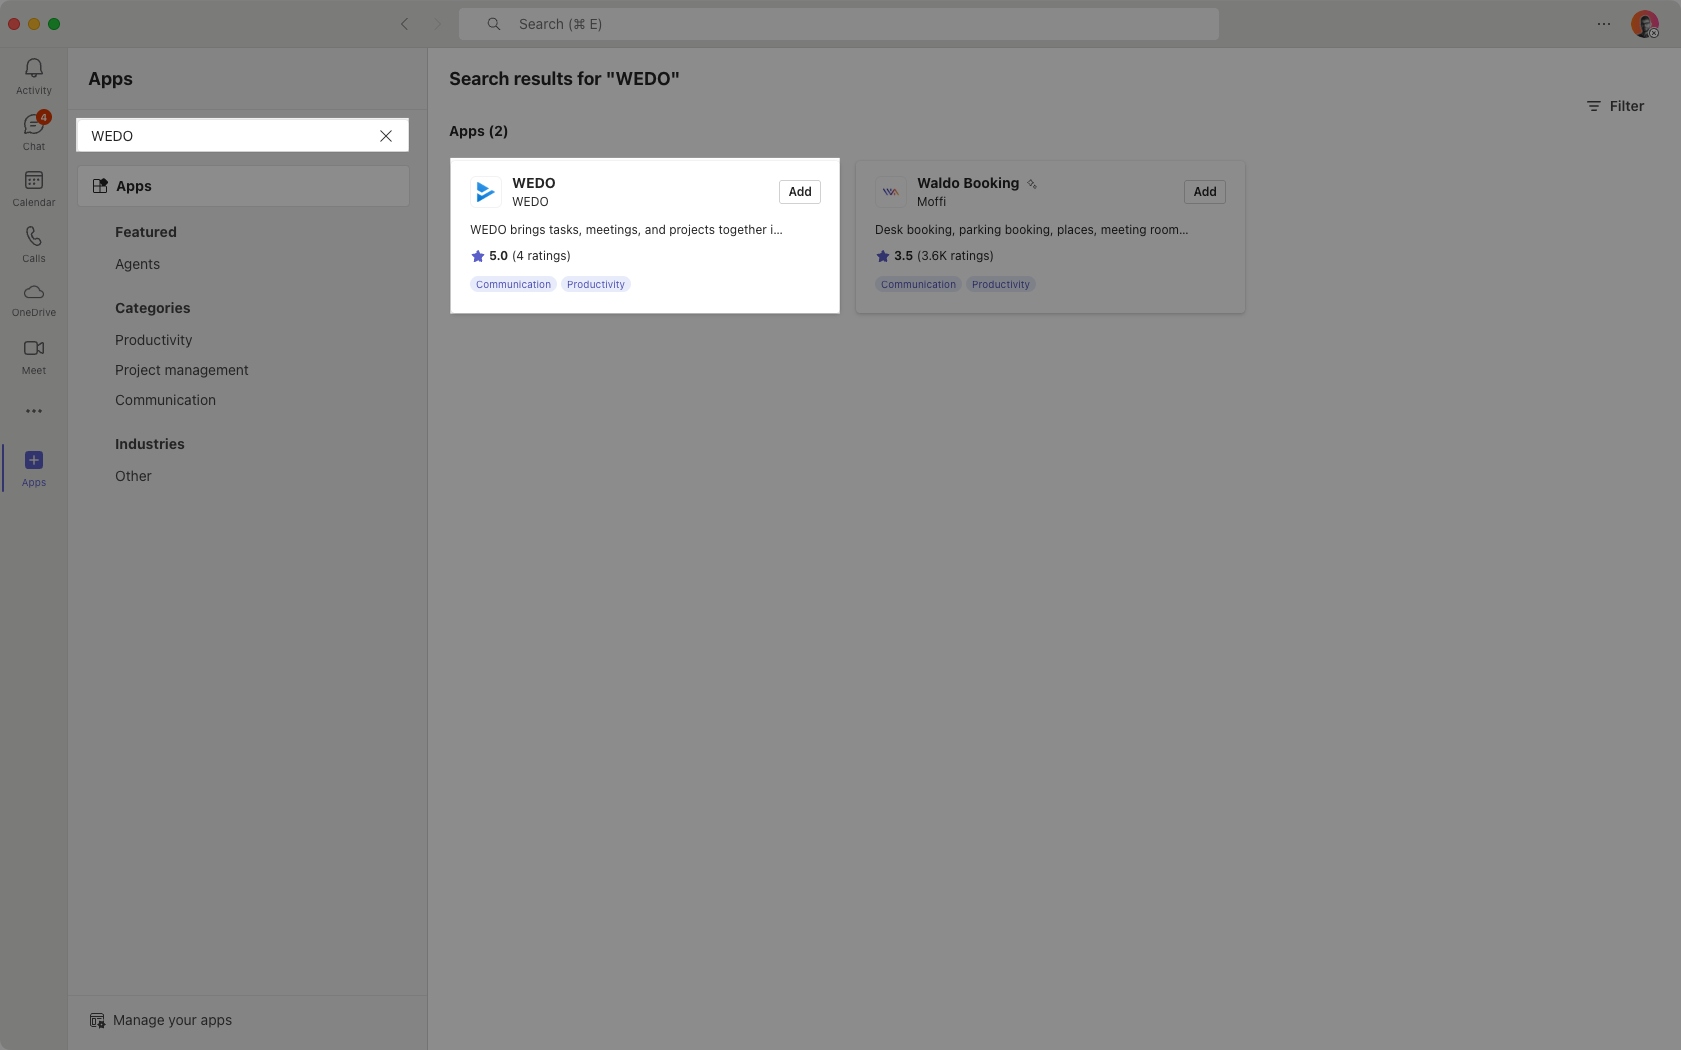
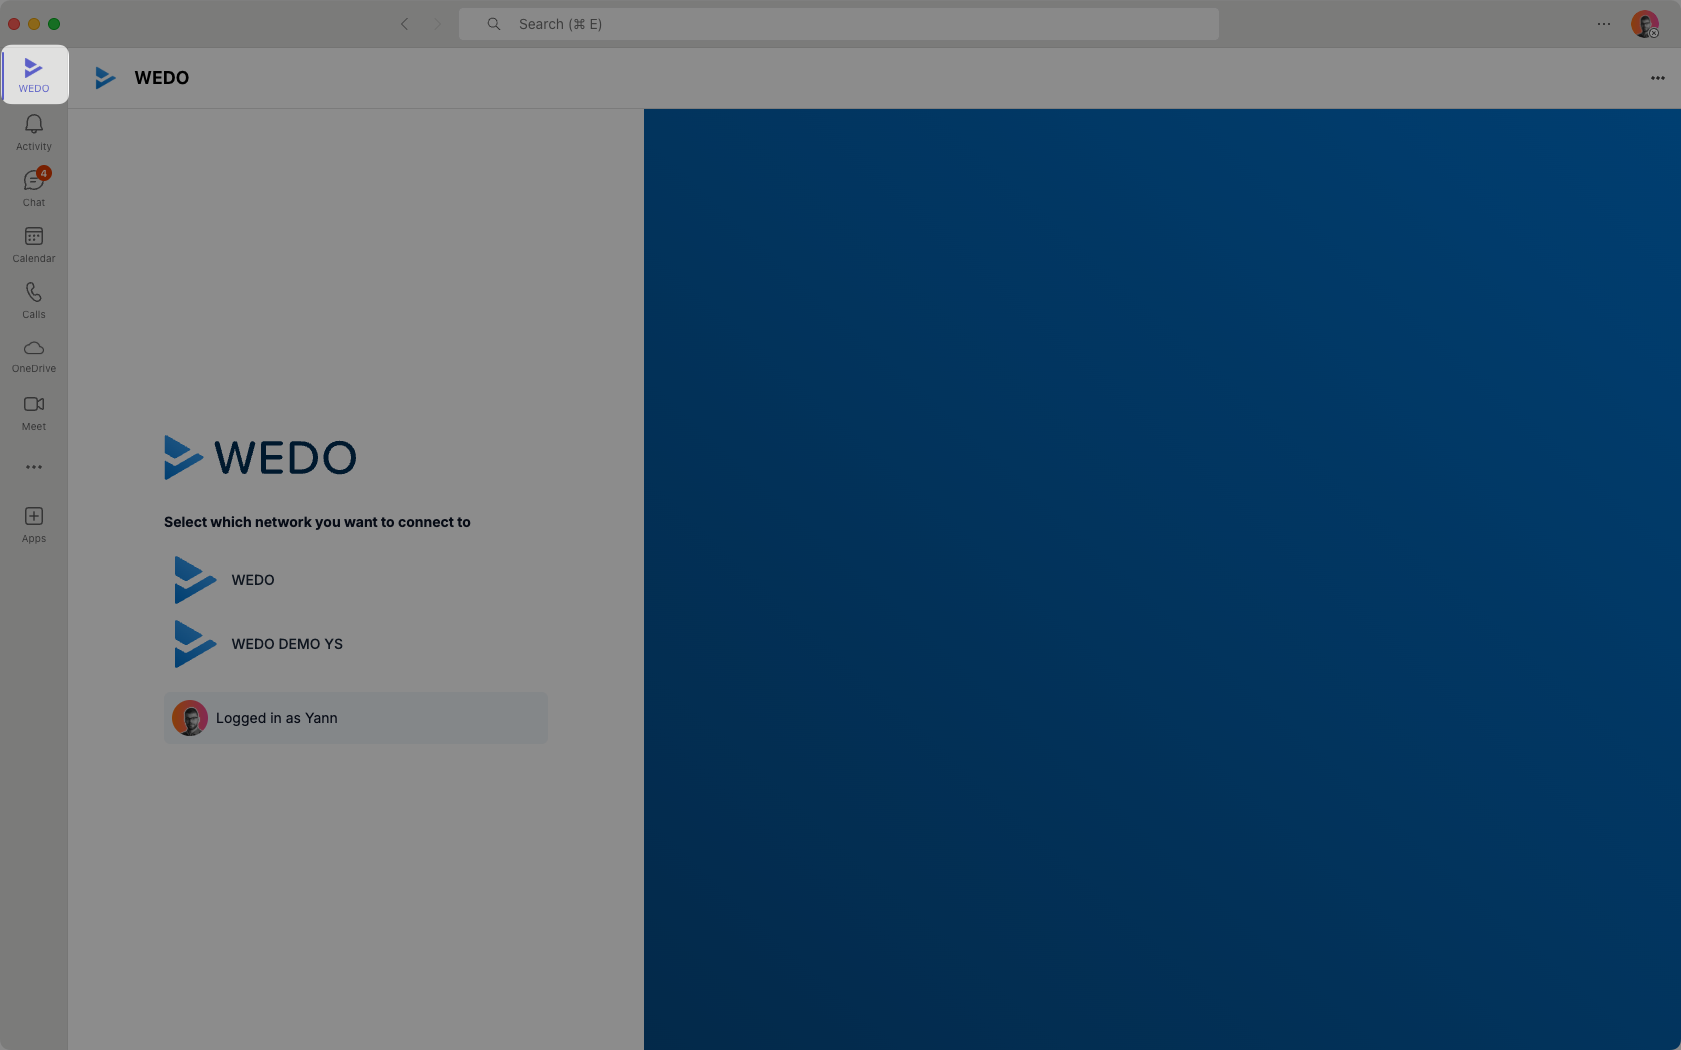
3. Install WEDO app in Teams (user)
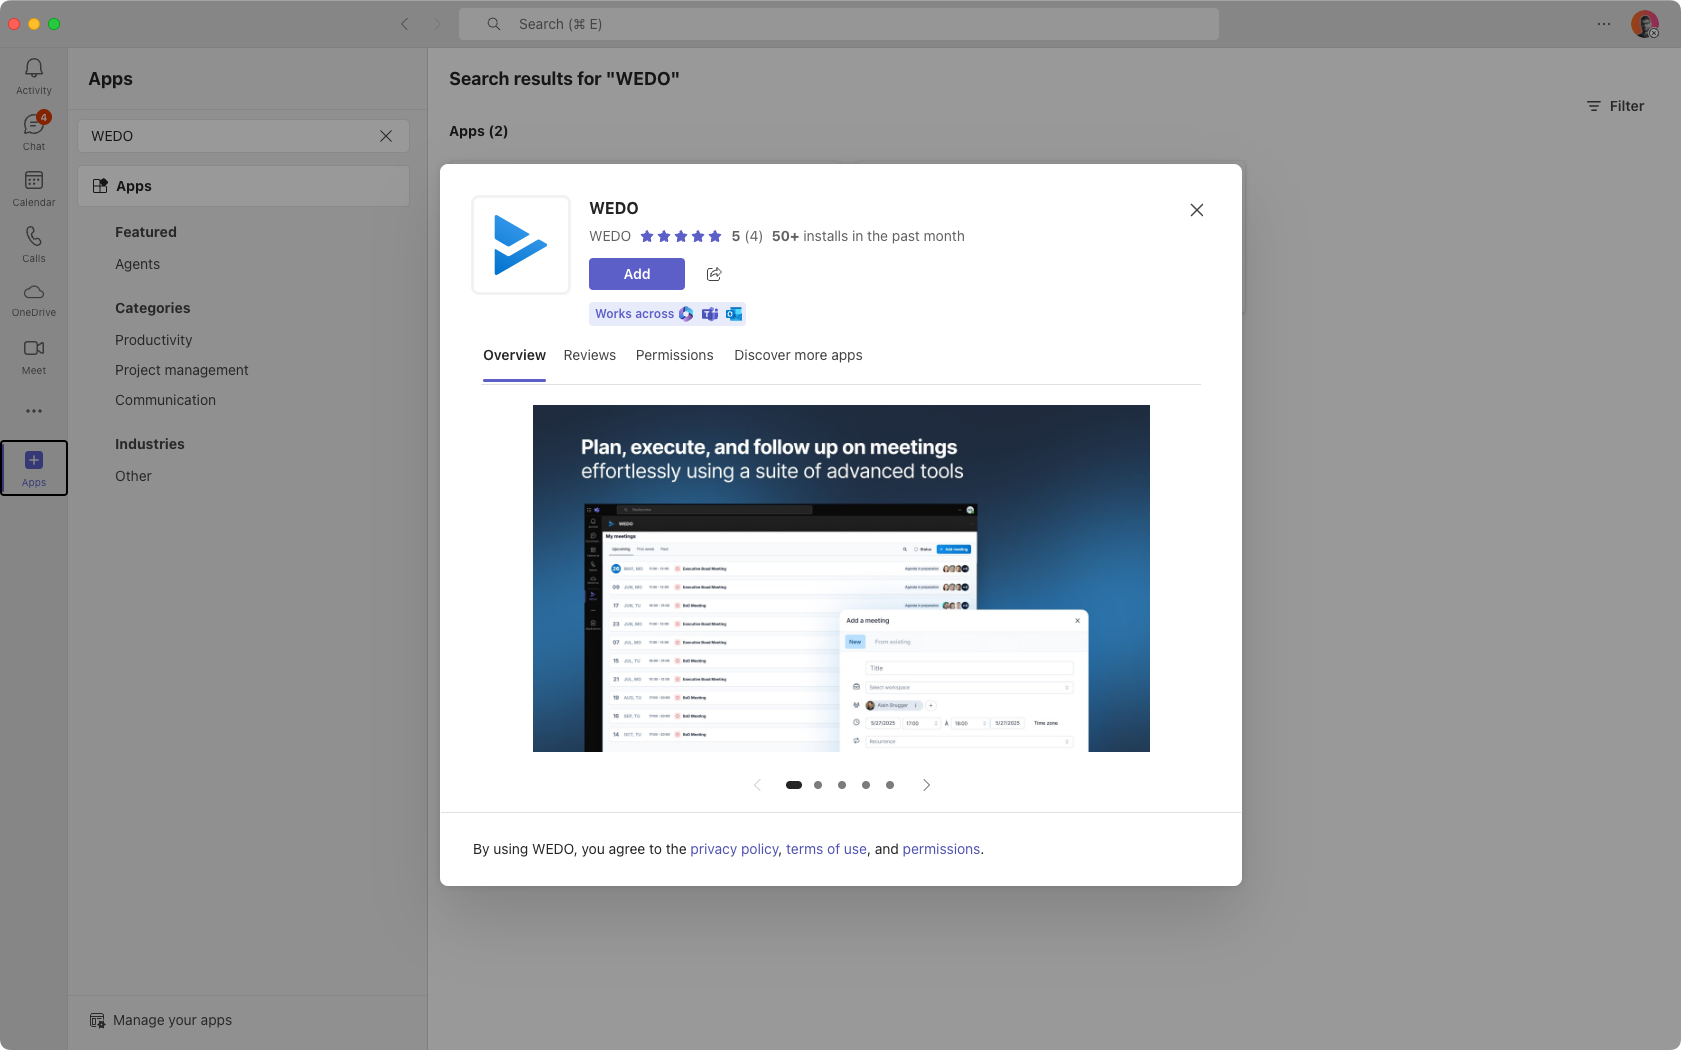
In Teams, open the “Apps” tab in the left menu and search for WEDO in the search bar.
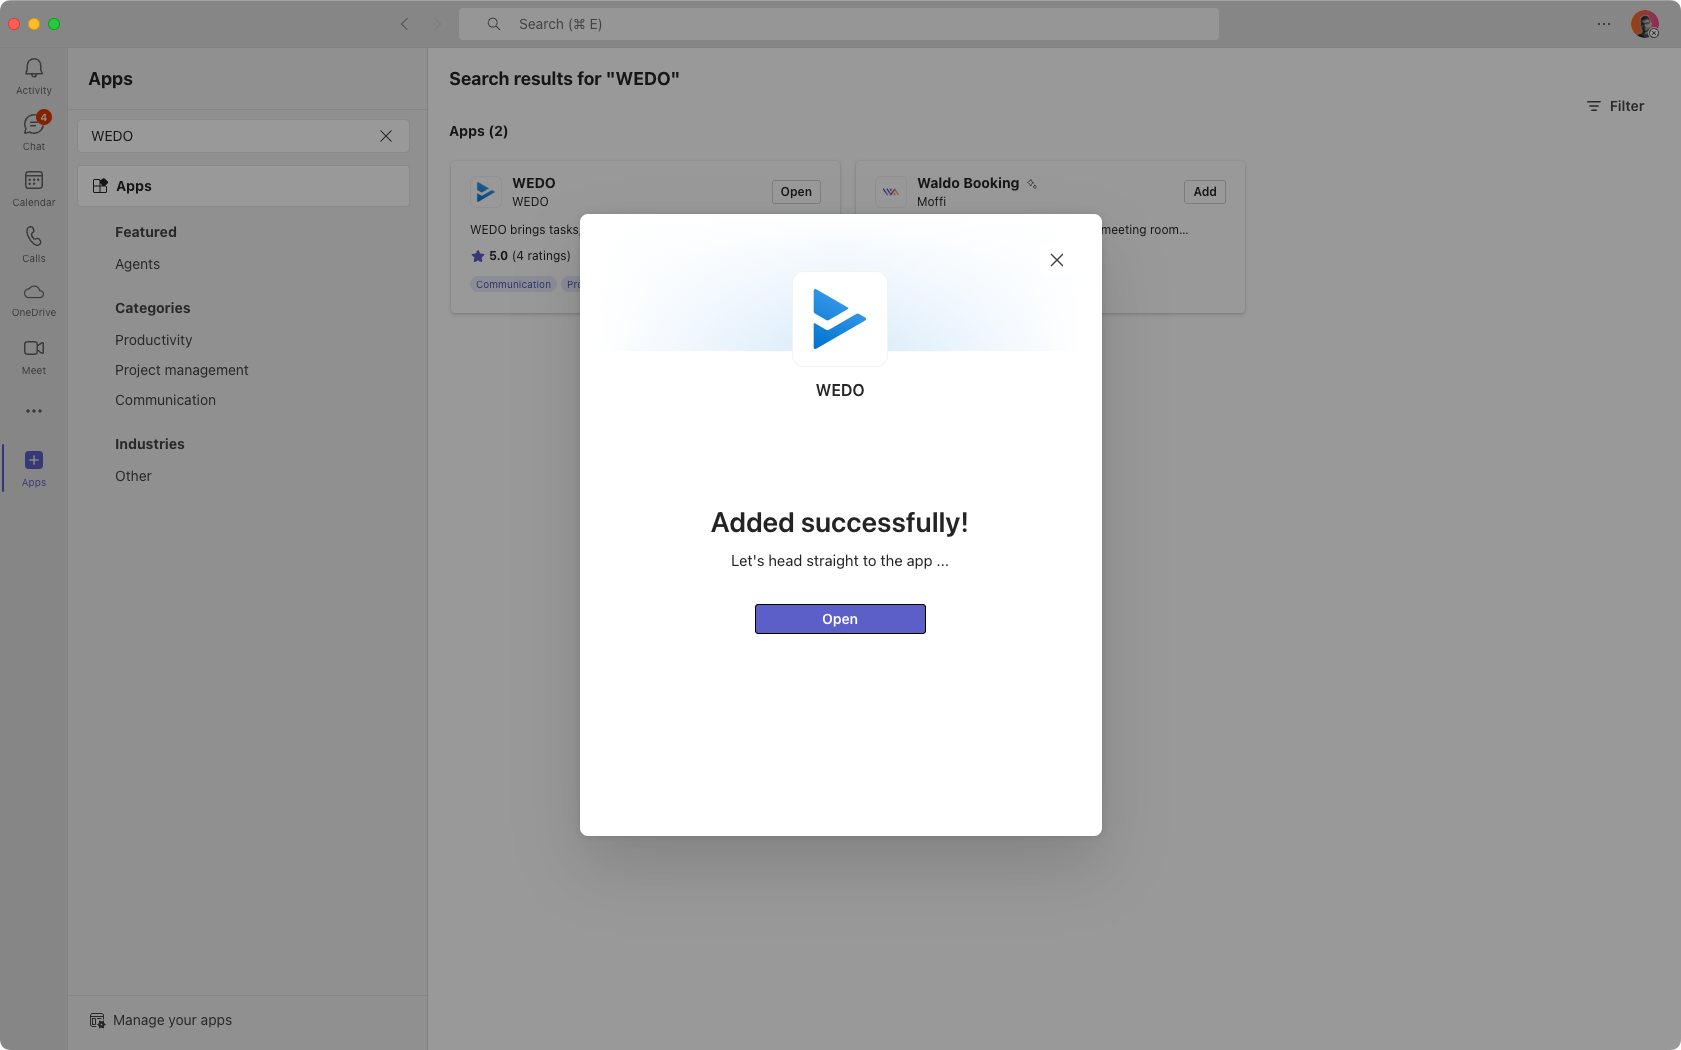
Click Add to install the WEDO app in Teams.
The WEDO app is now available directly in Microsoft Teams. If you have followed all installation steps, you are automatically logged in.
For quick and easy access, you can pin the app: Right-click on the WEDO icon in the left menu and select Pin.

Once the app is pinned, you can move it by holding down the left mouse button and dragging it to the top of the menu for even faster access.
Congratulations, you have installed WEDO in Teams! 🎉